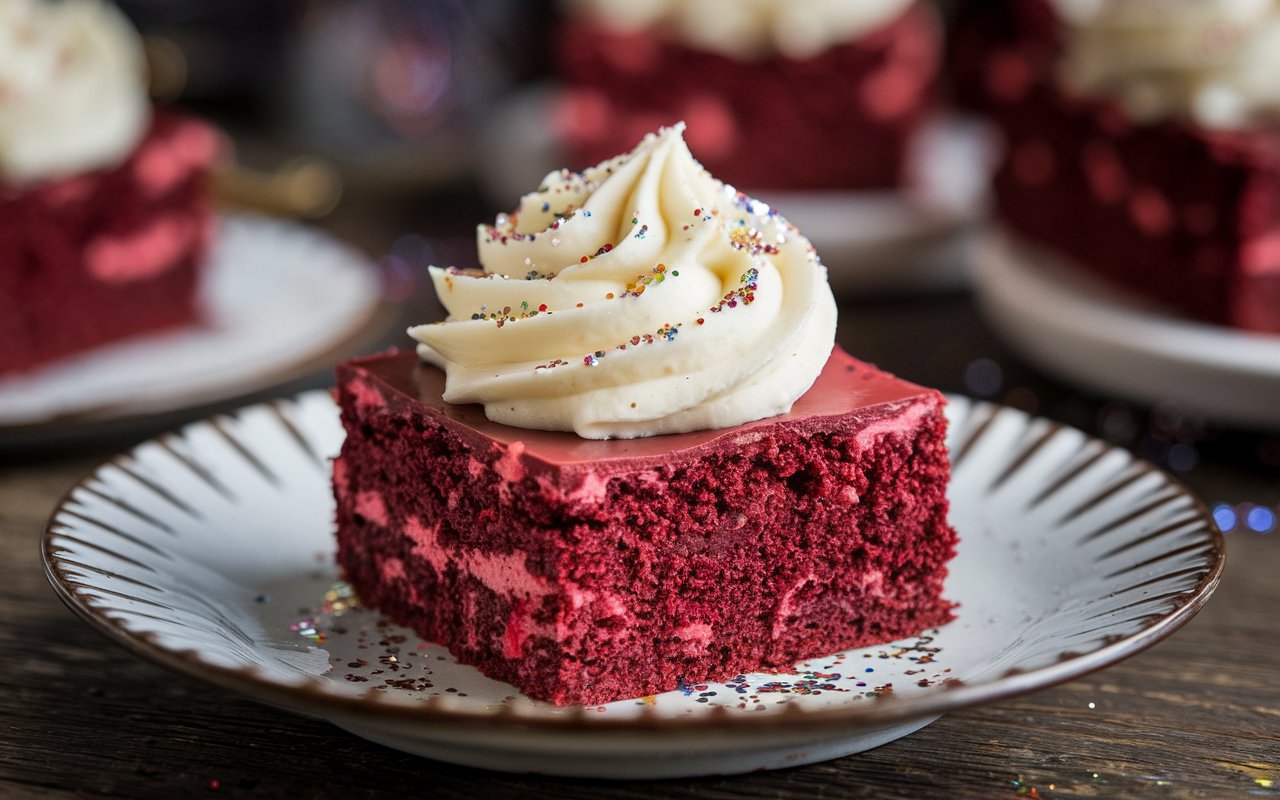
Red velvet brownies? Yes, you read that right! They combine the rich, fudgy goodness of brownies with the classic tang of red velvet cake. Get ready for an amazing treat!
These brownies are special. They have a soft, chewy texture and a deep chocolate flavor with a hint of buttermilk. The vibrant red color makes them even more appealing.
“Red Velvet Brownies: A Delectable Journey” will show you how to bake these incredible treats. We’ll guide you through each step, from mixing the ingredients to baking and frosting. You’ll be enjoying delicious red velvet brownies in no time!
Understanding the Essence of Red Velvet
The History of Red Velvet: More Than Just Color
Red velvet cake has a long and interesting history. It wasn’t always the bright red color we know today. Early recipes used cocoa powder that reacted with acidic ingredients, like buttermilk, creating a reddish-brown hue. This natural reaction, not food coloring, gave the cake its original red velvet name.
Some people think red velvet is just chocolate cake with red food coloring. That’s not true! The combination of buttermilk and vinegar gives red velvet its signature tangy flavor. This sets it apart from regular chocolate cake. For another decadent dessert, try our No-Bake Chocolate Raspberry Tart.
The Flavor Profile: Tangy, Sweet, and Chocolatey
Red velvet’s unique taste comes from a special blend of ingredients. Buttermilk and vinegar add a slight tanginess that balances the sweetness of sugar. Cocoa powder provides a deep chocolate flavor.
These flavors work together perfectly. The tanginess enhances the chocolate, making it richer and more complex. Many red velvet brownies are topped with cream cheese frosting. The creamy, slightly tart frosting complements the brownie base, creating a delightful combination of flavors and textures.
Baking Red Velvet Brownies: A Step-by-Step Guide

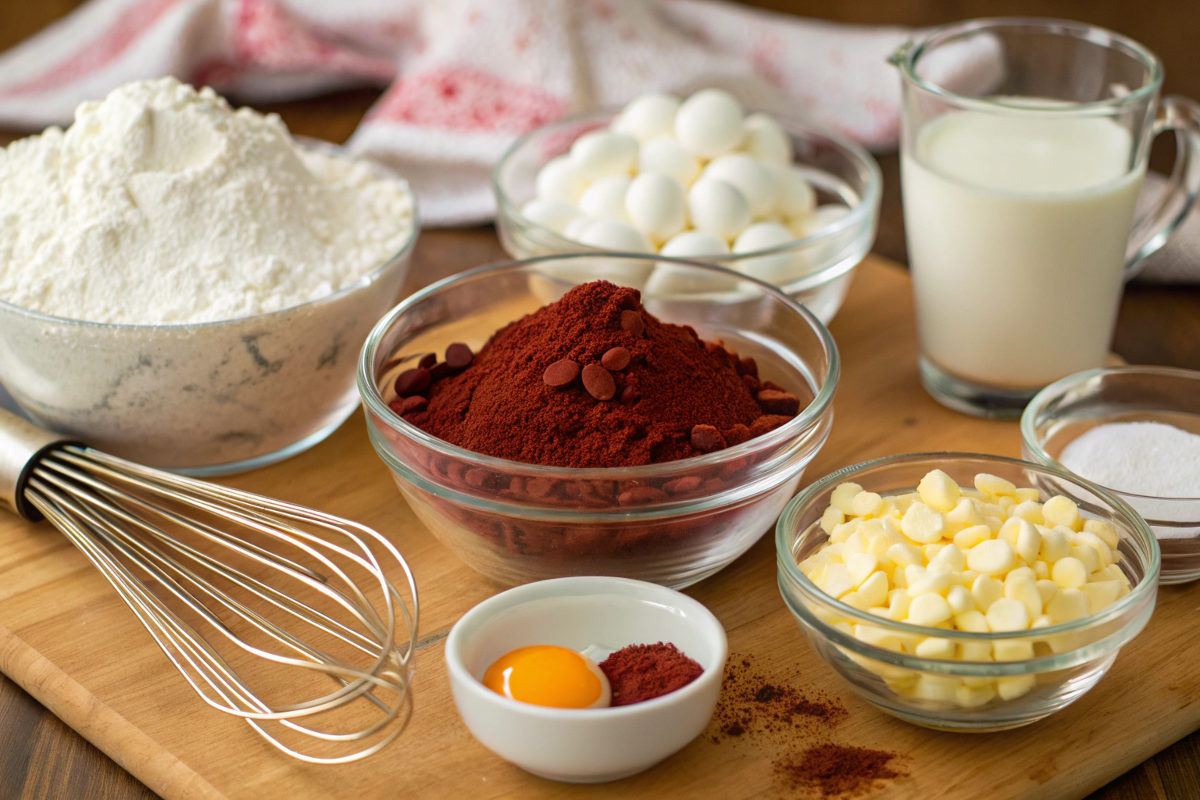
Gathering Your Ingredients: Quality Matters
For delicious red velvet brownies, you’ll need: flour, sugar, cocoa powder, baking powder, salt, eggs, buttermilk, oil, vanilla extract, red food coloring, vinegar, and melted butter. You might also want cream cheese and powdered sugar for the frosting.
Using fresh, high-quality ingredients makes a big difference. Fresh baking powder ensures your brownies rise properly. Good quality cocoa powder gives a richer chocolate flavor. You can find more delicious breakfast recipes, like our Ultimate Breakfast Casserole, on our website.
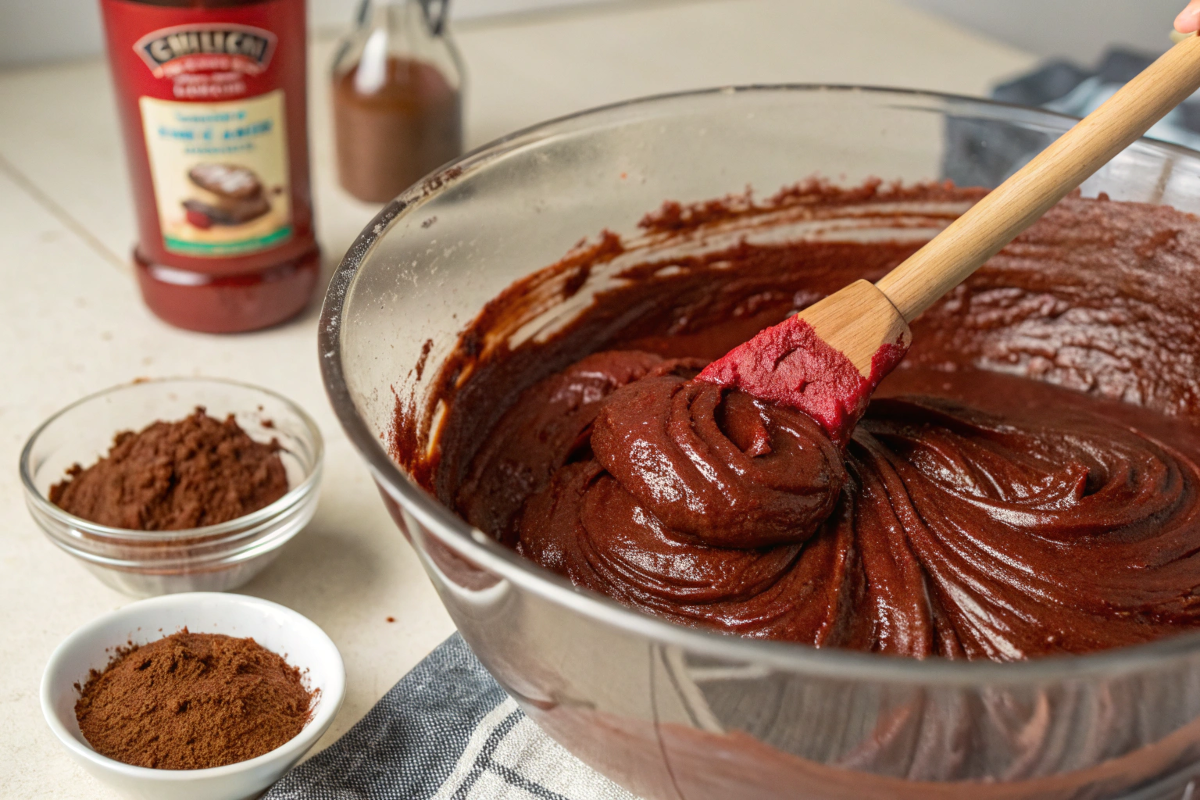
Mixing the Batter: Achieving the Perfect Consistency
First, whisk together the dry ingredients: flour, sugar, cocoa powder, baking powder, and salt. In a separate bowl, combine the wet ingredients: eggs, buttermilk, oil, vanilla extract, red food coloring, and vinegar. Add the melted butter last.
Gradually add the wet ingredients to the dry ingredients, mixing until just combined. Don’t overmix! Overmixing can make the brownies tough. You want a smooth batter without any lumps.
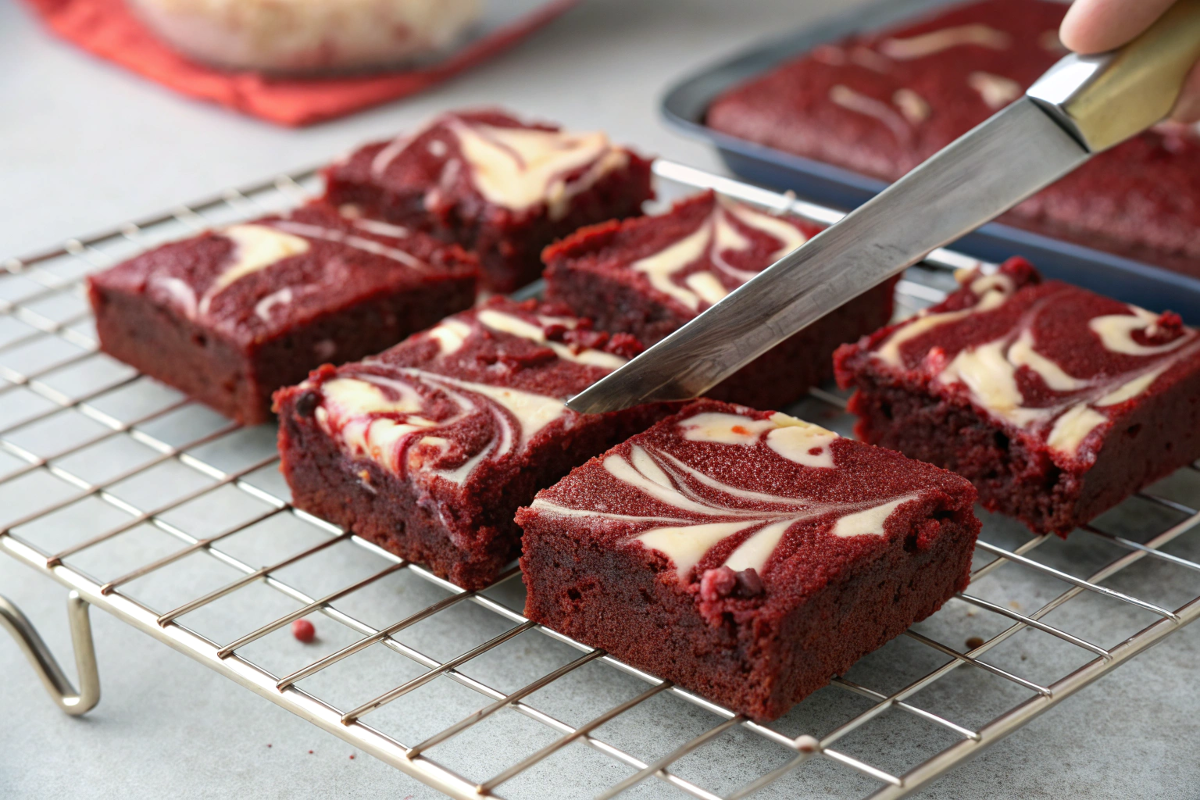
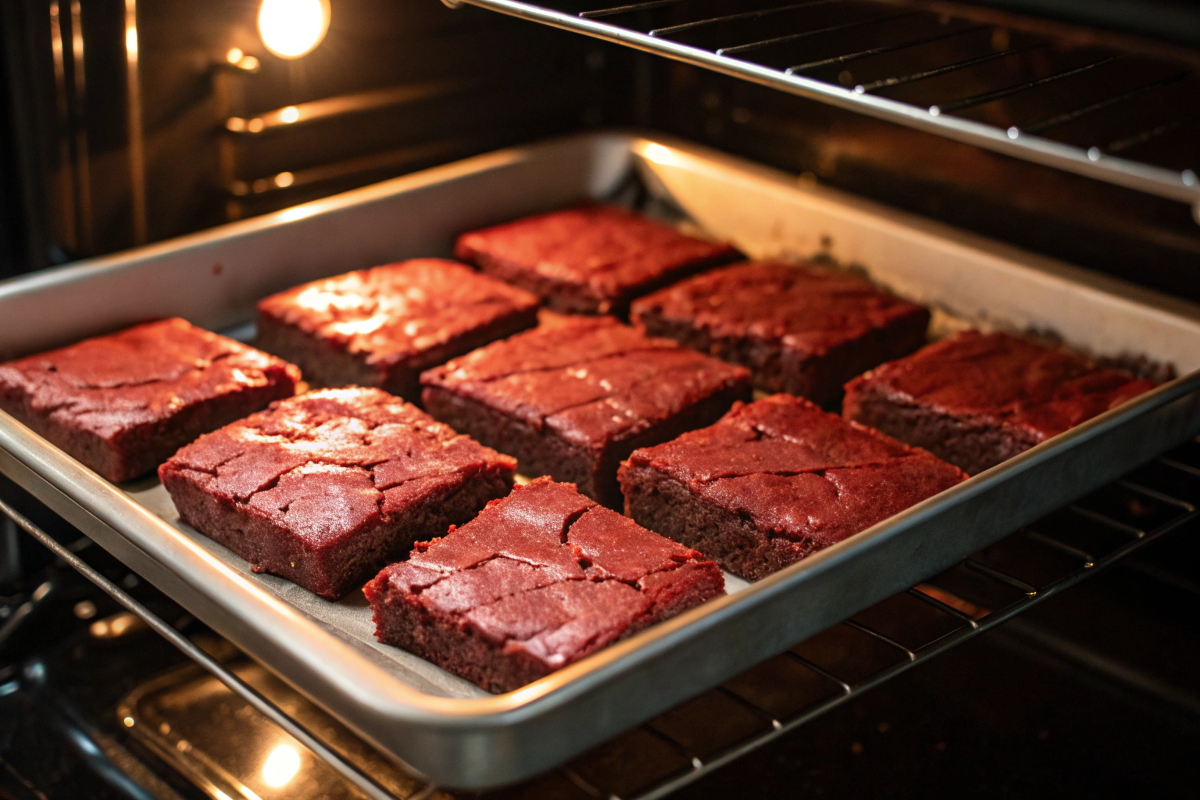
Baking to Perfection: Time and Temperature
Pour the batter into a greased baking pan and bake at 350°F (175°C) for 25-30 minutes. Baking times can vary depending on your oven, so keep an eye on them.
To test for doneness, insert a toothpick into the center. If it comes out with a few moist crumbs attached, they’re ready. If it’s gooey, bake for a few more minutes. Avoid overbaking, as this can dry out the brownies. Let them cool completely before frosting. For a fun twist, try making Mini Cinnamon Rolls!
The Art of Frosting and Decorating
Classic Cream Cheese Frosting: A Perfect Pairing
Cream cheese frosting is the classic topping for red velvet brownies. To make it, beat together softened cream cheese, butter, powdered sugar, and vanilla extract until smooth and creamy.
For the best flavor, use full-fat cream cheese and real butter. Make sure the cream cheese is softened to room temperature for easy mixing. If the frosting is too thick, add a teaspoon of milk at a time until you reach the desired consistency. If it’s too thin, add more powdered sugar.
If you enjoy this recipe, you might also like our Ultimate Cheesecake Brownies Recipe for another fudgy and delicious treat.
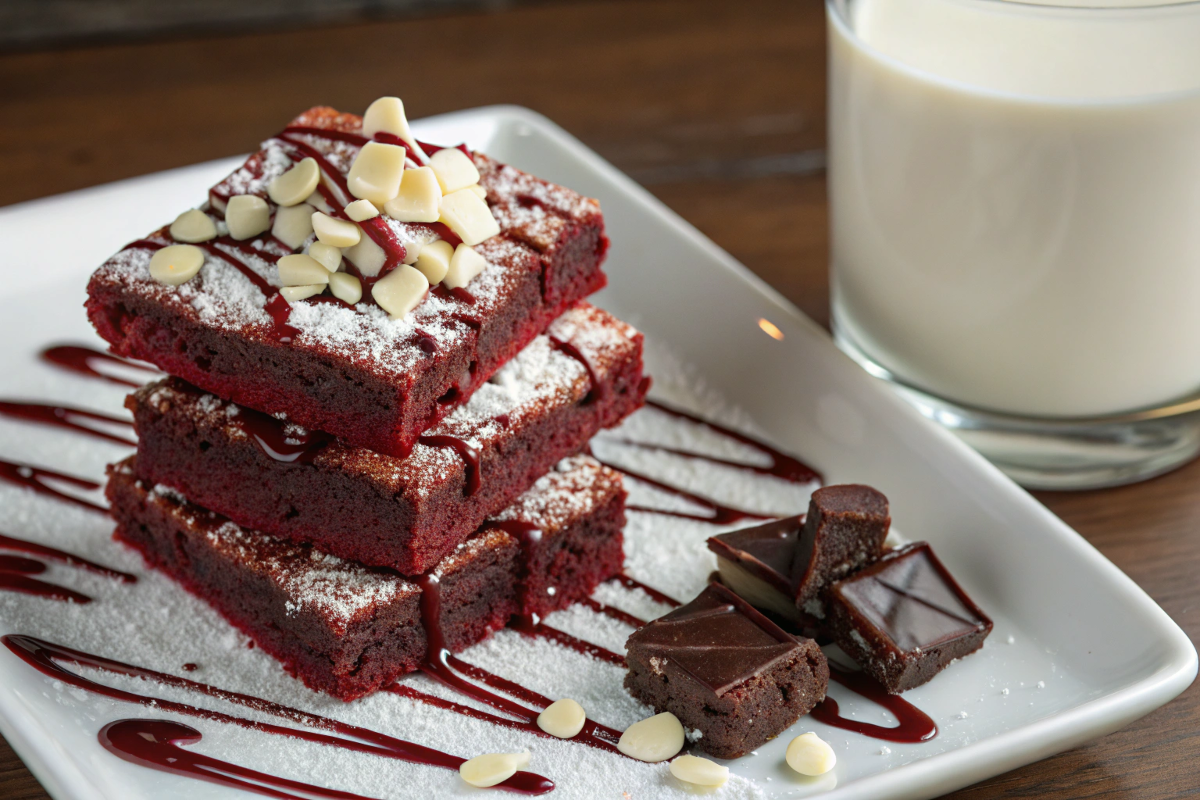
Creative Decorating Ideas: Beyond the Basics
While cream cheese frosting is traditional, you can get creative! Chocolate ganache, a rich mixture of chocolate and cream, is a decadent alternative. Buttercream frosting, flavored with vanilla or chocolate, also works well.
Once frosted, add some flair! Sprinkles add a fun and festive touch. Chocolate shavings create an elegant look. Fresh berries, like raspberries or strawberries, provide a burst of color and flavor. Get creative and make your red velvet brownies truly special! Pair these brownies with our Crispy Fried Cornbread for a truly satisfying dessert experience. Check out this red velvet brownie recipe: Easy Red Velvet Brownies.
Troubleshooting Common Issues
Dry or Crumbly Brownies: Finding the Cause
Dry, crumbly brownies are often the result of overbaking. Baking for too long removes moisture. Using the wrong amount of flour or not enough wet ingredients can also contribute to dryness. Always double-check your recipe and use a timer!
Sinking in the Middle: Preventing the Dip
A sunken center can happen if you overmix the batter. Overmixing develops too much gluten, causing the brownies to rise and then collapse. Opening the oven door too often or having fluctuating oven temperatures can also lead to sinking.
Uneven Baking: Ensuring Consistency
Uneven baking can result in some brownies being cooked perfectly while others are underdone or overdone. Make sure your oven rack is in the center position. Rotate the pan halfway through baking to ensure even heat distribution. Using an oven thermometer helps maintain a consistent temperature.
For another delightful treat, consider our recipe for The Best Fudge Brownies.
Frequently Asked Questions
Red velvet brownies: a delectable journey recipe
Combine dry ingredients, then mix wet ingredients. Gradually combine wet and dry, avoiding overmixing. Bake at 350°F (175°C) for 25-30 minutes, testing with a toothpick. Cool and frost with cream cheese frosting.
Red velvet brownies: a delectable journey ingredients
Key ingredients include buttermilk and vinegar for tang, cocoa powder for chocolate flavor, and red food coloring for vibrant color. Cream cheese frosting adds a creamy, sweet finish.
Red velvet brownies: BBC Good Food
BBC Good Food is a great resource for recipes.
Fudgy red velvet brownies
Use more butter and slightly underbake for a fudgier texture. Make sure to test with a toothpick for doneness.
Red velvet brownies: ingredients
Flour, sugar, cocoa, baking powder, buttermilk, eggs, oil, vinegar, red food coloring.
Red velvet brownies: συνταγη (Greek for “recipe”)
This recipe provides a step-by-step guide for making delicious red velvet brownies.
Red velvet brownies without cream cheese
Use chocolate ganache, buttercream, or a simple glaze instead of cream cheese frosting.
Red velvet brownie recipe
This recipe guides you through making perfect red velvet brownies from scratch.
Conclusion: Indulge in the Decadence
Red velvet brownies offer a truly unique and delicious experience. The combination of fudgy brownie, tangy flavor, and vibrant color is simply irresistible. Now that you know the secrets to baking perfect red velvet brownies, it’s time to get baking! Enjoy the delightful journey and savor every bite of this decadent treat.
Print
Red Velvet Brownies: A Delectable Journey
- Prep Time: 6
- Cook Time: 10
- Total Time: 16 minutes
- Category: desser
- Method: N/A
- Cuisine: america
Description
Bake delicious Red Velvet Brownies: A Delectable Journey with this easy recipe! Rich, fudgy, and ready in 30 minutes.
Ingredients
flour (quantity not specified)
sugar (quantity not specified)
cocoa powder (quantity not specified)
baking powder (quantity not specified)
salt (quantity not specified)
eggs (quantity not specified)
buttermilk (quantity not specified)
oil (quantity not specified)
vanilla extract (quantity not specified)
red food coloring (quantity not specified)
vinegar (quantity not specified)
melted butter (quantity not specified)
cream cheese (quantity not specified, for frosting)
powdered sugar (quantity not specified, for frosting)
Instructions
1. Whisk together dry ingredients (flour, sugar, cocoa powder, baking powder, salt).
2. Combine wet ingredients (eggs, buttermilk, oil, vanilla extract, red food coloring, vinegar) in a separate bowl. Add melted butter last.
3. Gradually add wet ingredients to dry ingredients, mixing until just combined. Do not overmix.
4. Pour batter into a greased baking pan.
5. Bake at 350°F (175°C) for 25-30 minutes, or until a toothpick inserted into the center comes out with moist crumbs.
6. Let cool completely before frosting.
7. For the frosting, beat together softened cream cheese, butter, powdered sugar, and vanilla extract until smooth and creamy.
Notes
-
For a fudgier brownie, use more butter and slightly underbake. Overmixing can result in tough brownies. Adjust frosting consistency with milk (if too thick) or powdered sugar (if too thin). Consider ganache, buttercream or glaze as alternative frostings. Decorate with sprinkles, chocolate shavings or fresh berries.
Nutrition
- Serving Size: N/A
- Calories: N/A
- Sugar: N/A
- Sodium: N/A
- Fat: N/A
- Saturated Fat: N/A
- Unsaturated Fat: N/A
- Trans Fat: N/A
- Carbohydrates: N/A
- Fiber: N/A
- Protein: N/A
- Cholesterol: N/A
Keywords: red velvet brownies, brownies, red velvet, dessert, baking, chocolate, cream cheese frosting, fudgy, tangy, easy recipe, delectable journey